Nous sommes désolés, le site web ne fonctionne pas correctement sans JavaScript. Si vous ne savez pas comment activer JavaScript, rendez-vous sur https://www.enable-javascript.com
Nous offrons un haut niveau de service à notre clientèle
Nous sommes basés à Montréal, et avons des représentants partout au Canada
Vous pouvez profiter du catalogue et des commandes en ligne
Connectez-vous à l'espace client
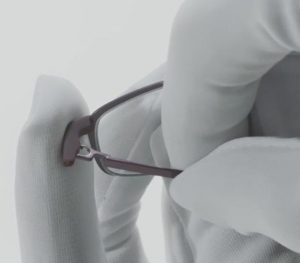
You will find in this section the guidlines to exchange the temple of your Silhouette frame the appropriate way.
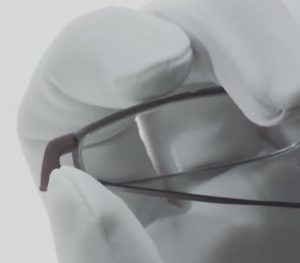
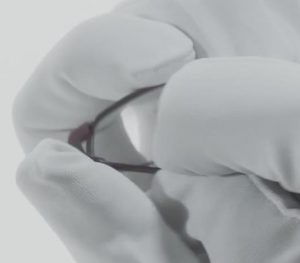
Take your frame in hand and compare it to the pictures, then click on the hinge you see to go directly to the section you need!
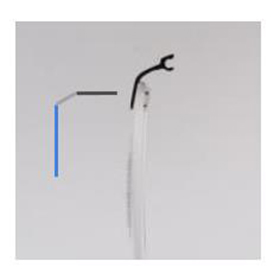
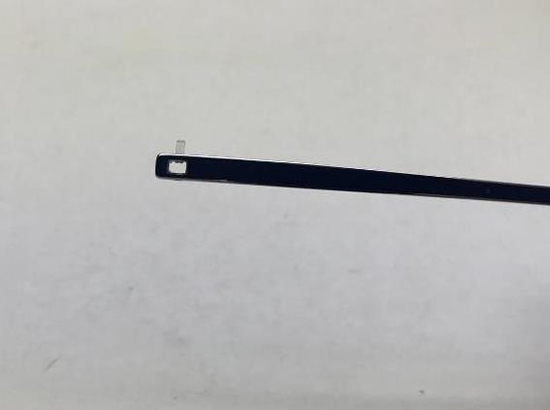
There are 4 types of snap hinge.
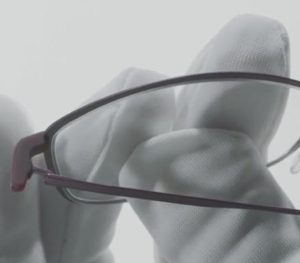
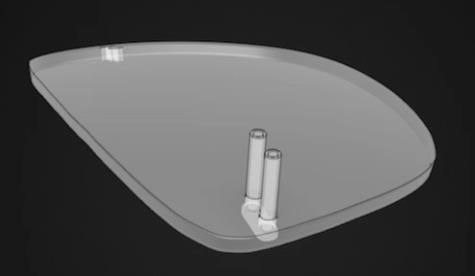
Type 1 : Open side is 90° to the lens
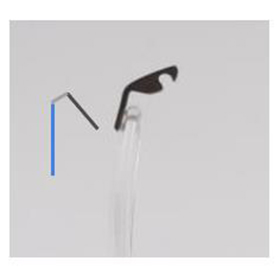
Type 2 : Open side is 20° off the lens
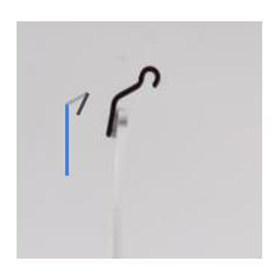
Type 3 : Open side is 20° to the lens
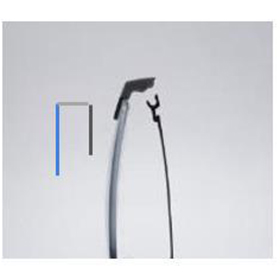
Type 4 : Open side is parallel to the lens
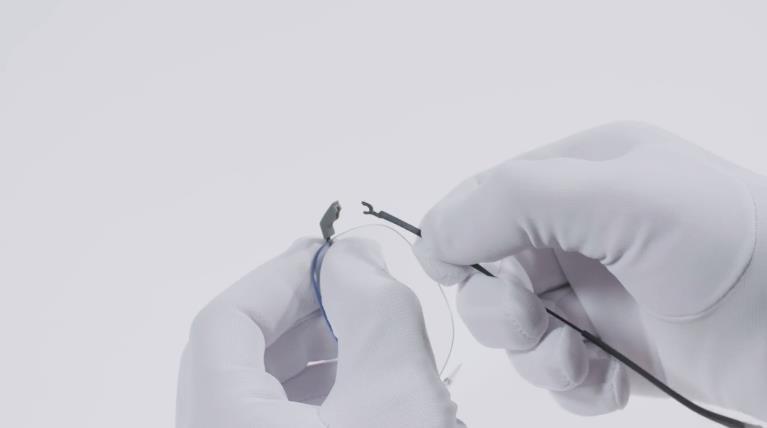
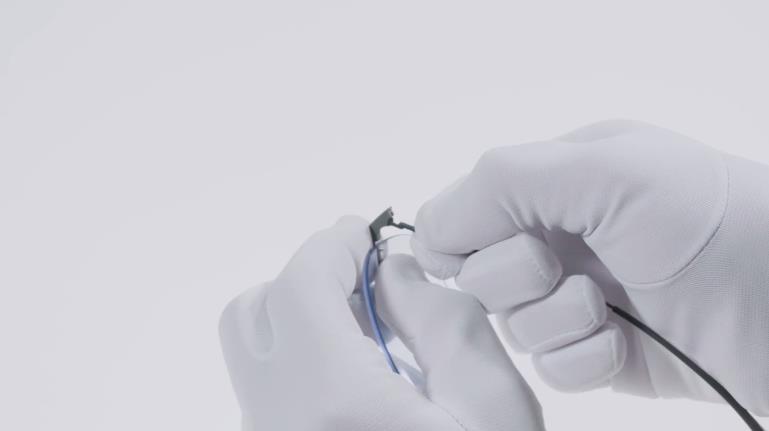
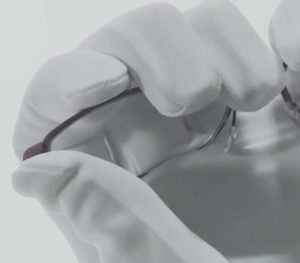
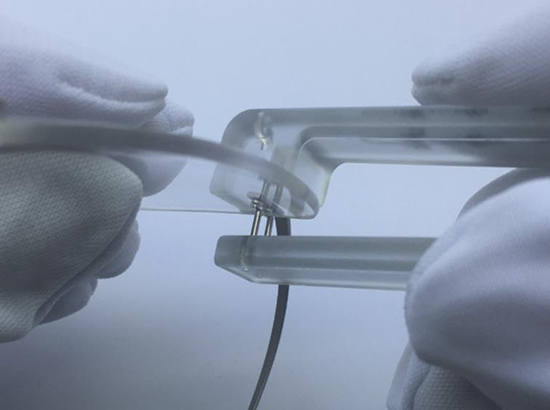
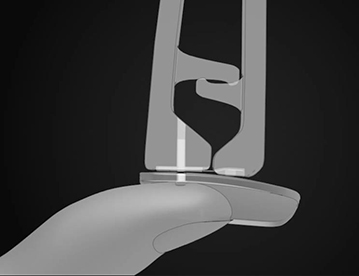
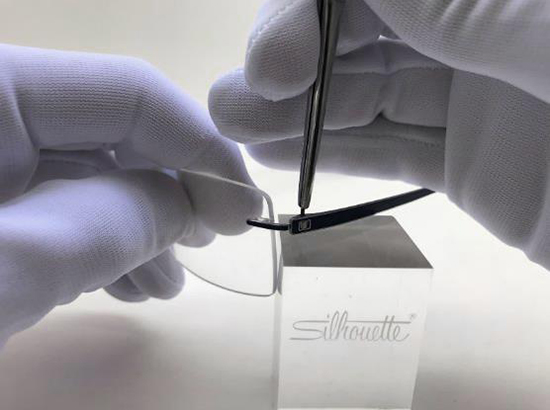
Pull the temple out of the middle part.
Then press the temple into the hinge with the thumb.
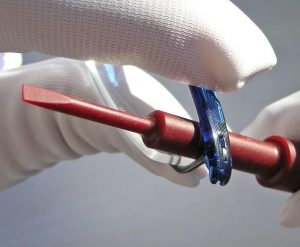
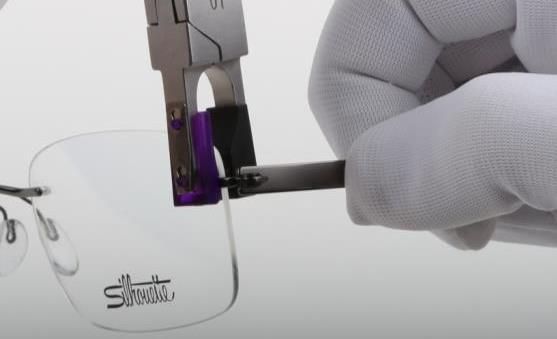
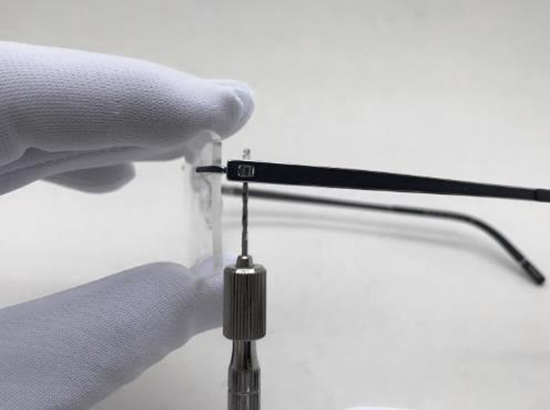
Place “multi-tool” at the hinge to the stop.
Select suitable diameter of round part, according to distance between temple and lens.
Close temple and press it through behind round part.
Temple will get loose with a click.
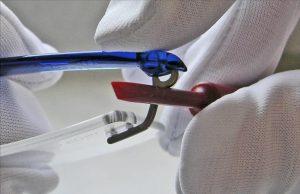
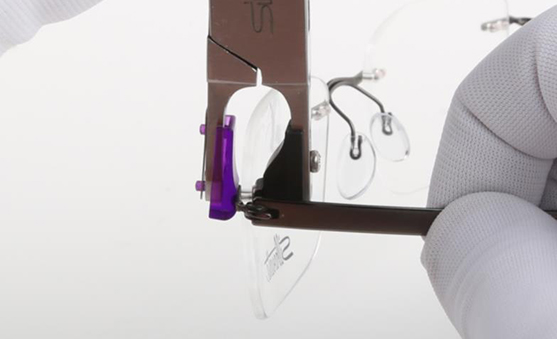
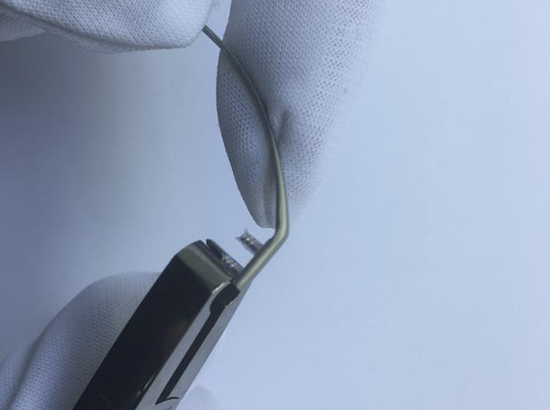
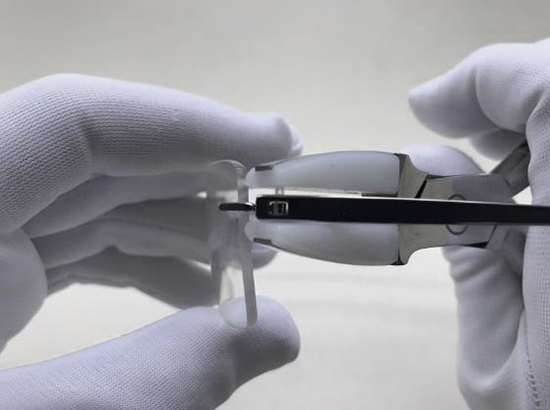
Position titanium side part at temple. Press it against safe edge of table. Press it in.
Place disassembly tool AC 336 to the stop.
Close temple and press it through behind the round tool.
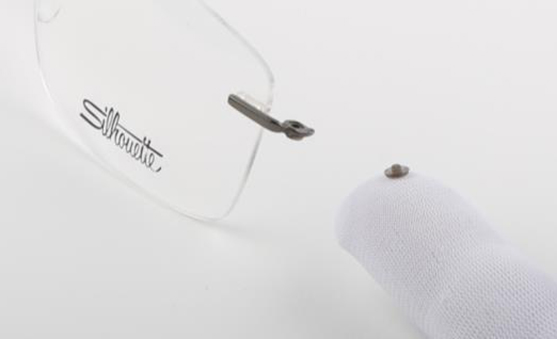
To reassemble place side parts exactly at the holes of the SPX temple and press together.
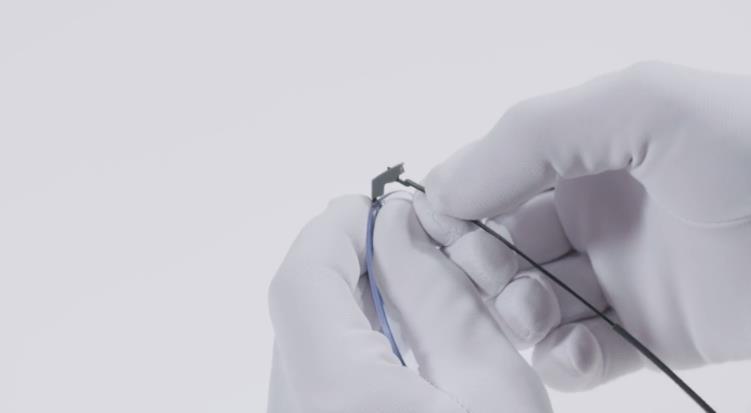
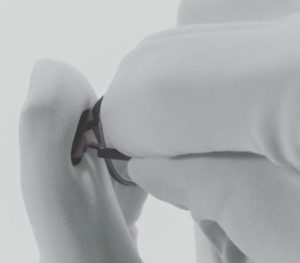
Close the temple slightly and hold the BLS fixation with your thumb and index finger.
Pull off the temple.
Align the temple with the hinge and press it in.
Press in the hinge in the course of the first move to ensure a good grip of the bracket.
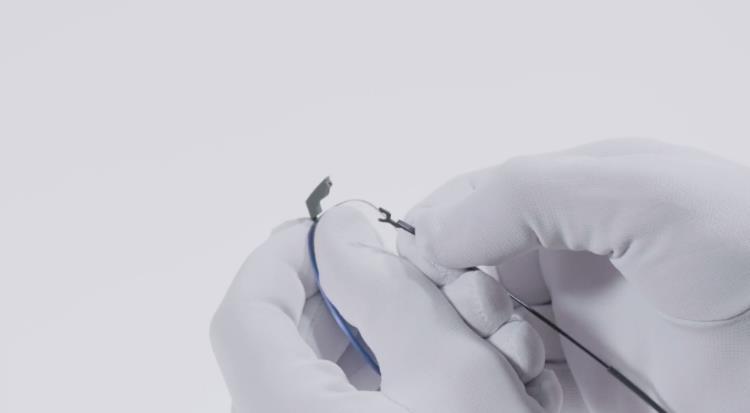
Close the temple slightly and hold the upper part of the hinge with some pressure and pull off the temple.
Align the temple with the hinge give it counter pressure and press it in.
Fix with plier. Pull temple backwards
TIP: Press the plastic part into to hinge and fix it with a pliers
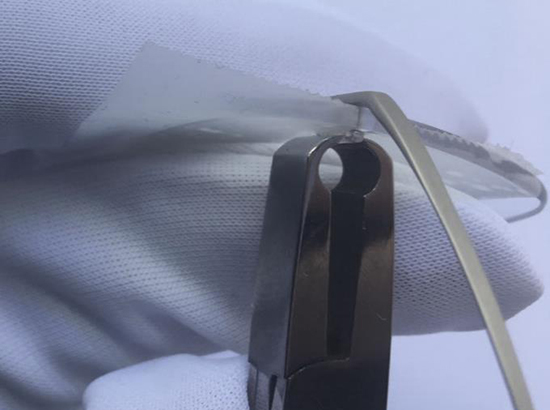
Hold lens fixation firmly with mounting pliers.
Place temple exactly at the slot of the disc-hinge.
Click it in carefully, to the stop.
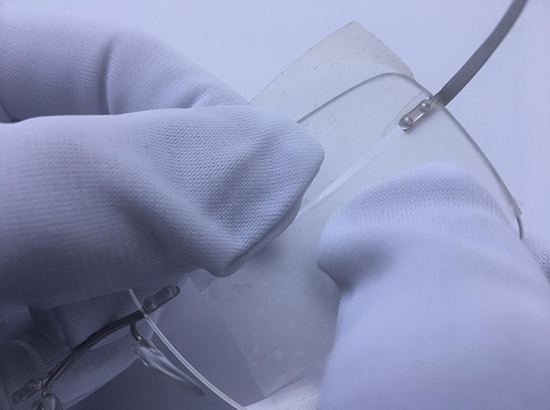
6. Remove protective film and marks. The lens must be clean!
Press in the frame parts till the first barbed hook.
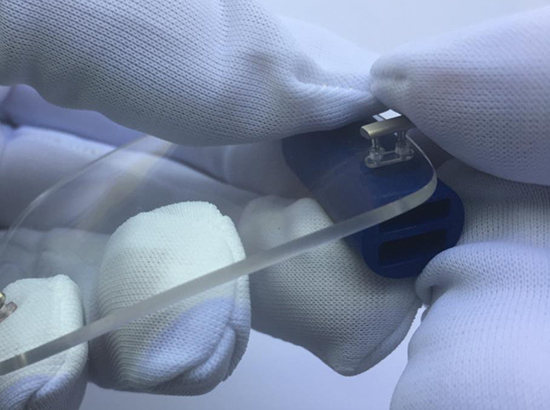
TIP: Use the blue multi tool at the head of the BLS to avoid the BLS from slipping out of the drill hole.
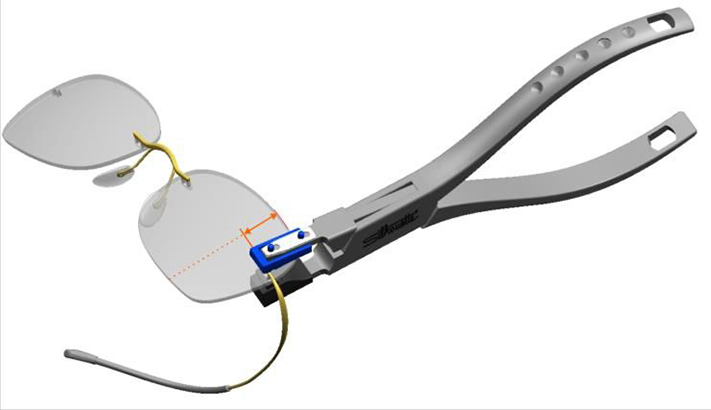
7. Place pliers at the short side
NOTE: Placing pliers at the long side might damage the lens during the mounting!
Note: Before removing the pin from pin-cision hinge heat the hinge for around half a minute at 70° to ensure a easy demounting of the pin.
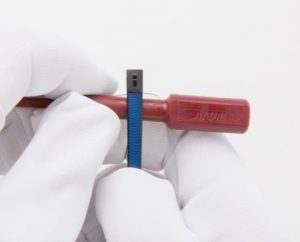
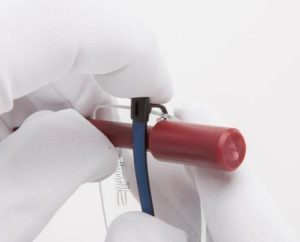
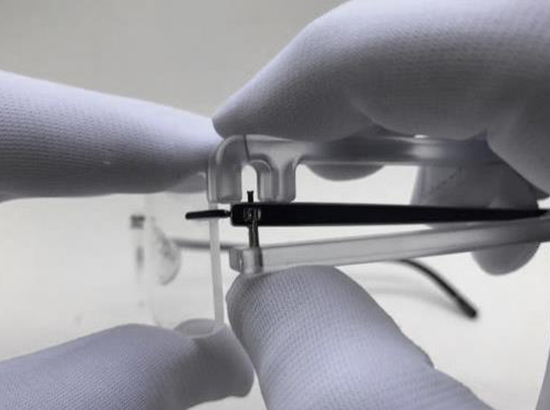
1. Use Silhouette demounting tool to remove the pin from the pin-cision hinge.
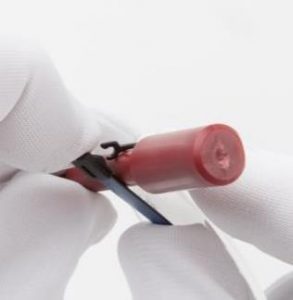
2. Remove the titanium pin with pincers.
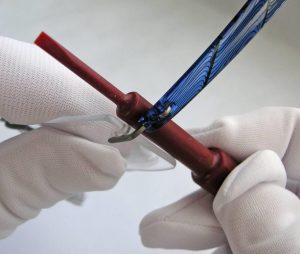
3. Remove the inside plastic part with a 1mm drill by carefully rotating the drill by hand.
4. Always start from the bottom up.